
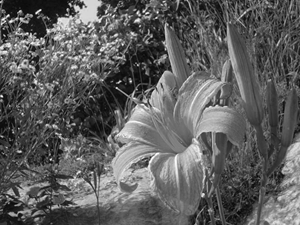
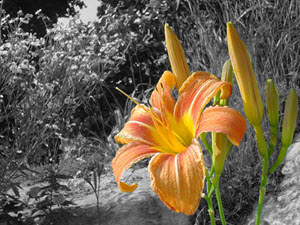
You have most likely seen photos that are displayed in black and white with only one part of it seen in color. This is very easy to do using Photoshop CC. There are many ways to achieve this effect. One easy method is to use the History Brush Tool. Try it!
- Open Adobe Photoshop CC.
- Open a photo of your choice.
- Create a duplicate of the photo. From the Image menu, click DUPLICATE. Click OK.
- From the Image menu, select ADJUSTMENTS. From the submenu, select DESATURATE.
- Click the History Brush Tool on the Tools panel.
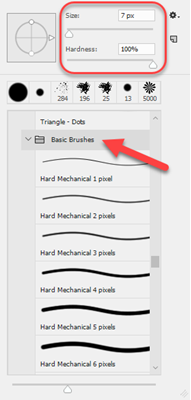
- Click the Brush Preset picker on the Options Bar.

- Select Basic Brushes from the list. Set the brush style options to 100% hardness.
- Use the Zoom Tool to magnify the area.
- Use a small brush size to outline the shape.
- Increase the brush size to fill with color.
If you liked this activity, you can find many more Photoshop CC photo editing activities in the TechnoPhotoshop CC technology project, created by TechnoKids Inc.
CREATIVE CLOUD PHOTOGRAPHY
Want to know more about Photoshop CC and a Photography plan? Visit https://www.adobe.com/creativecloud/photography.html